Web App · $10
Seating Chart Studio
Set up your room once, seat each class by dragging names, and print a clean chart for your sub.
What it does
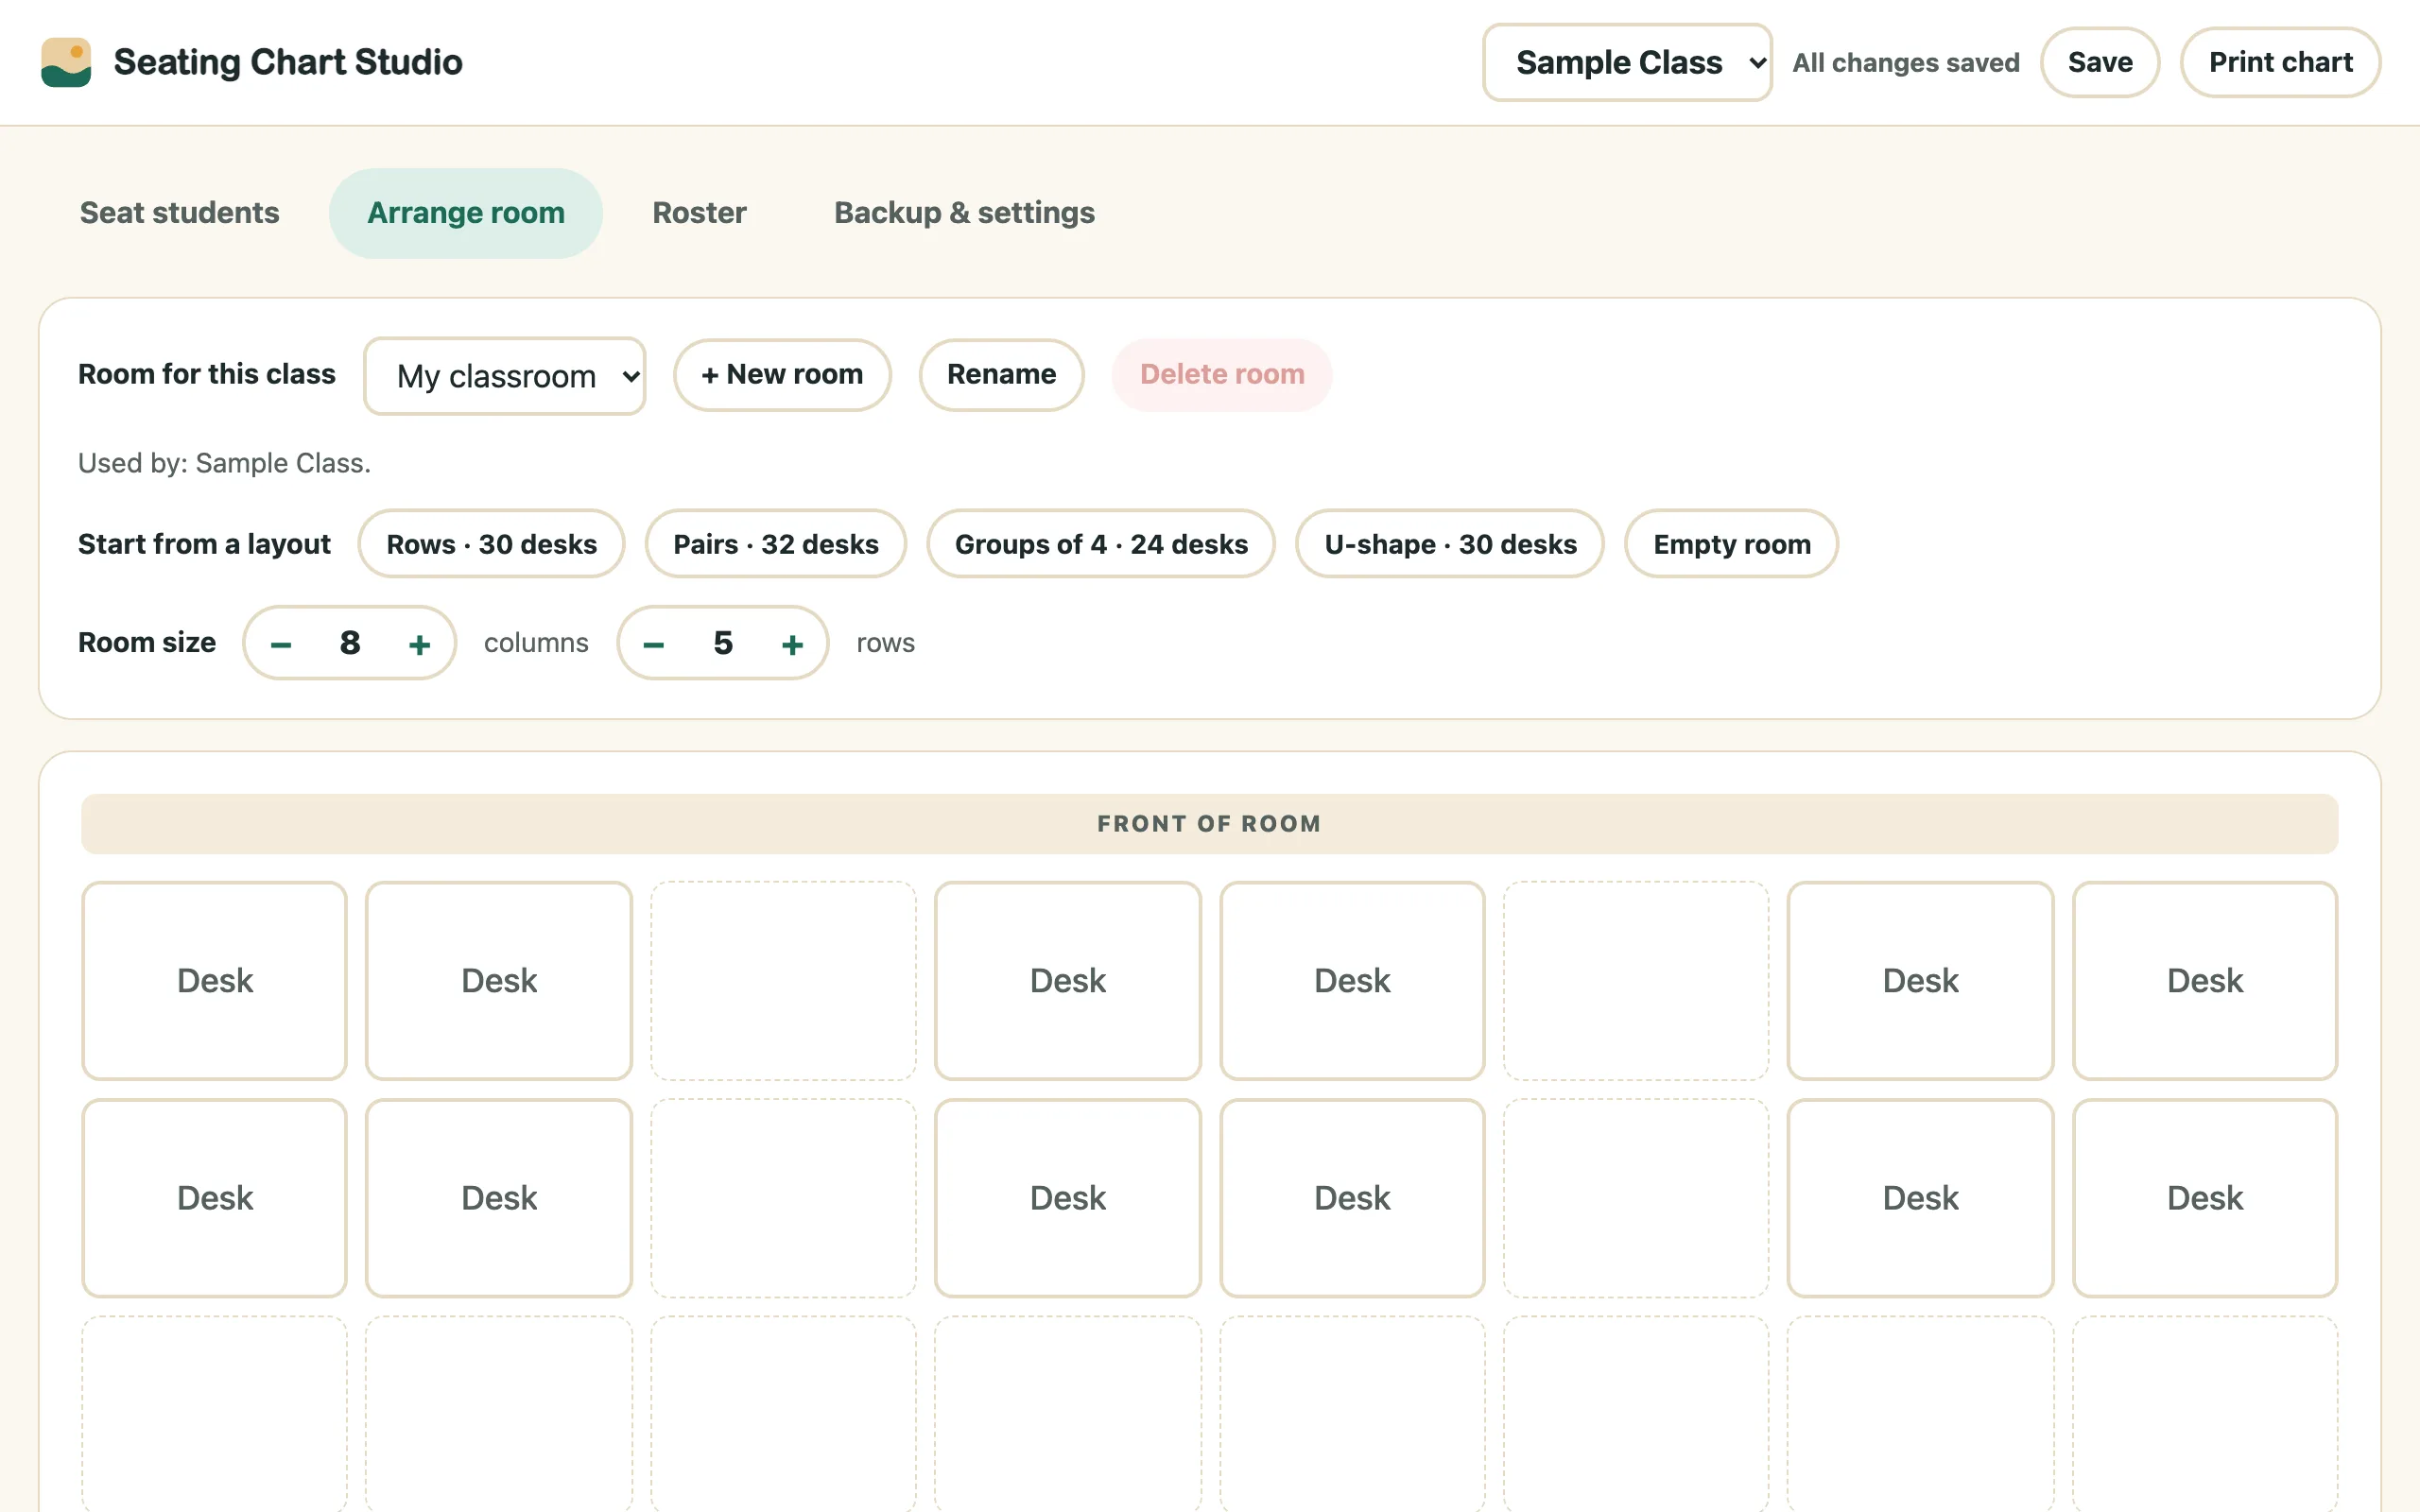
- Room layouts in a clickStart from rows, pairs, groups of 4, a U-shape or an empty room, then add, move or remove desks.
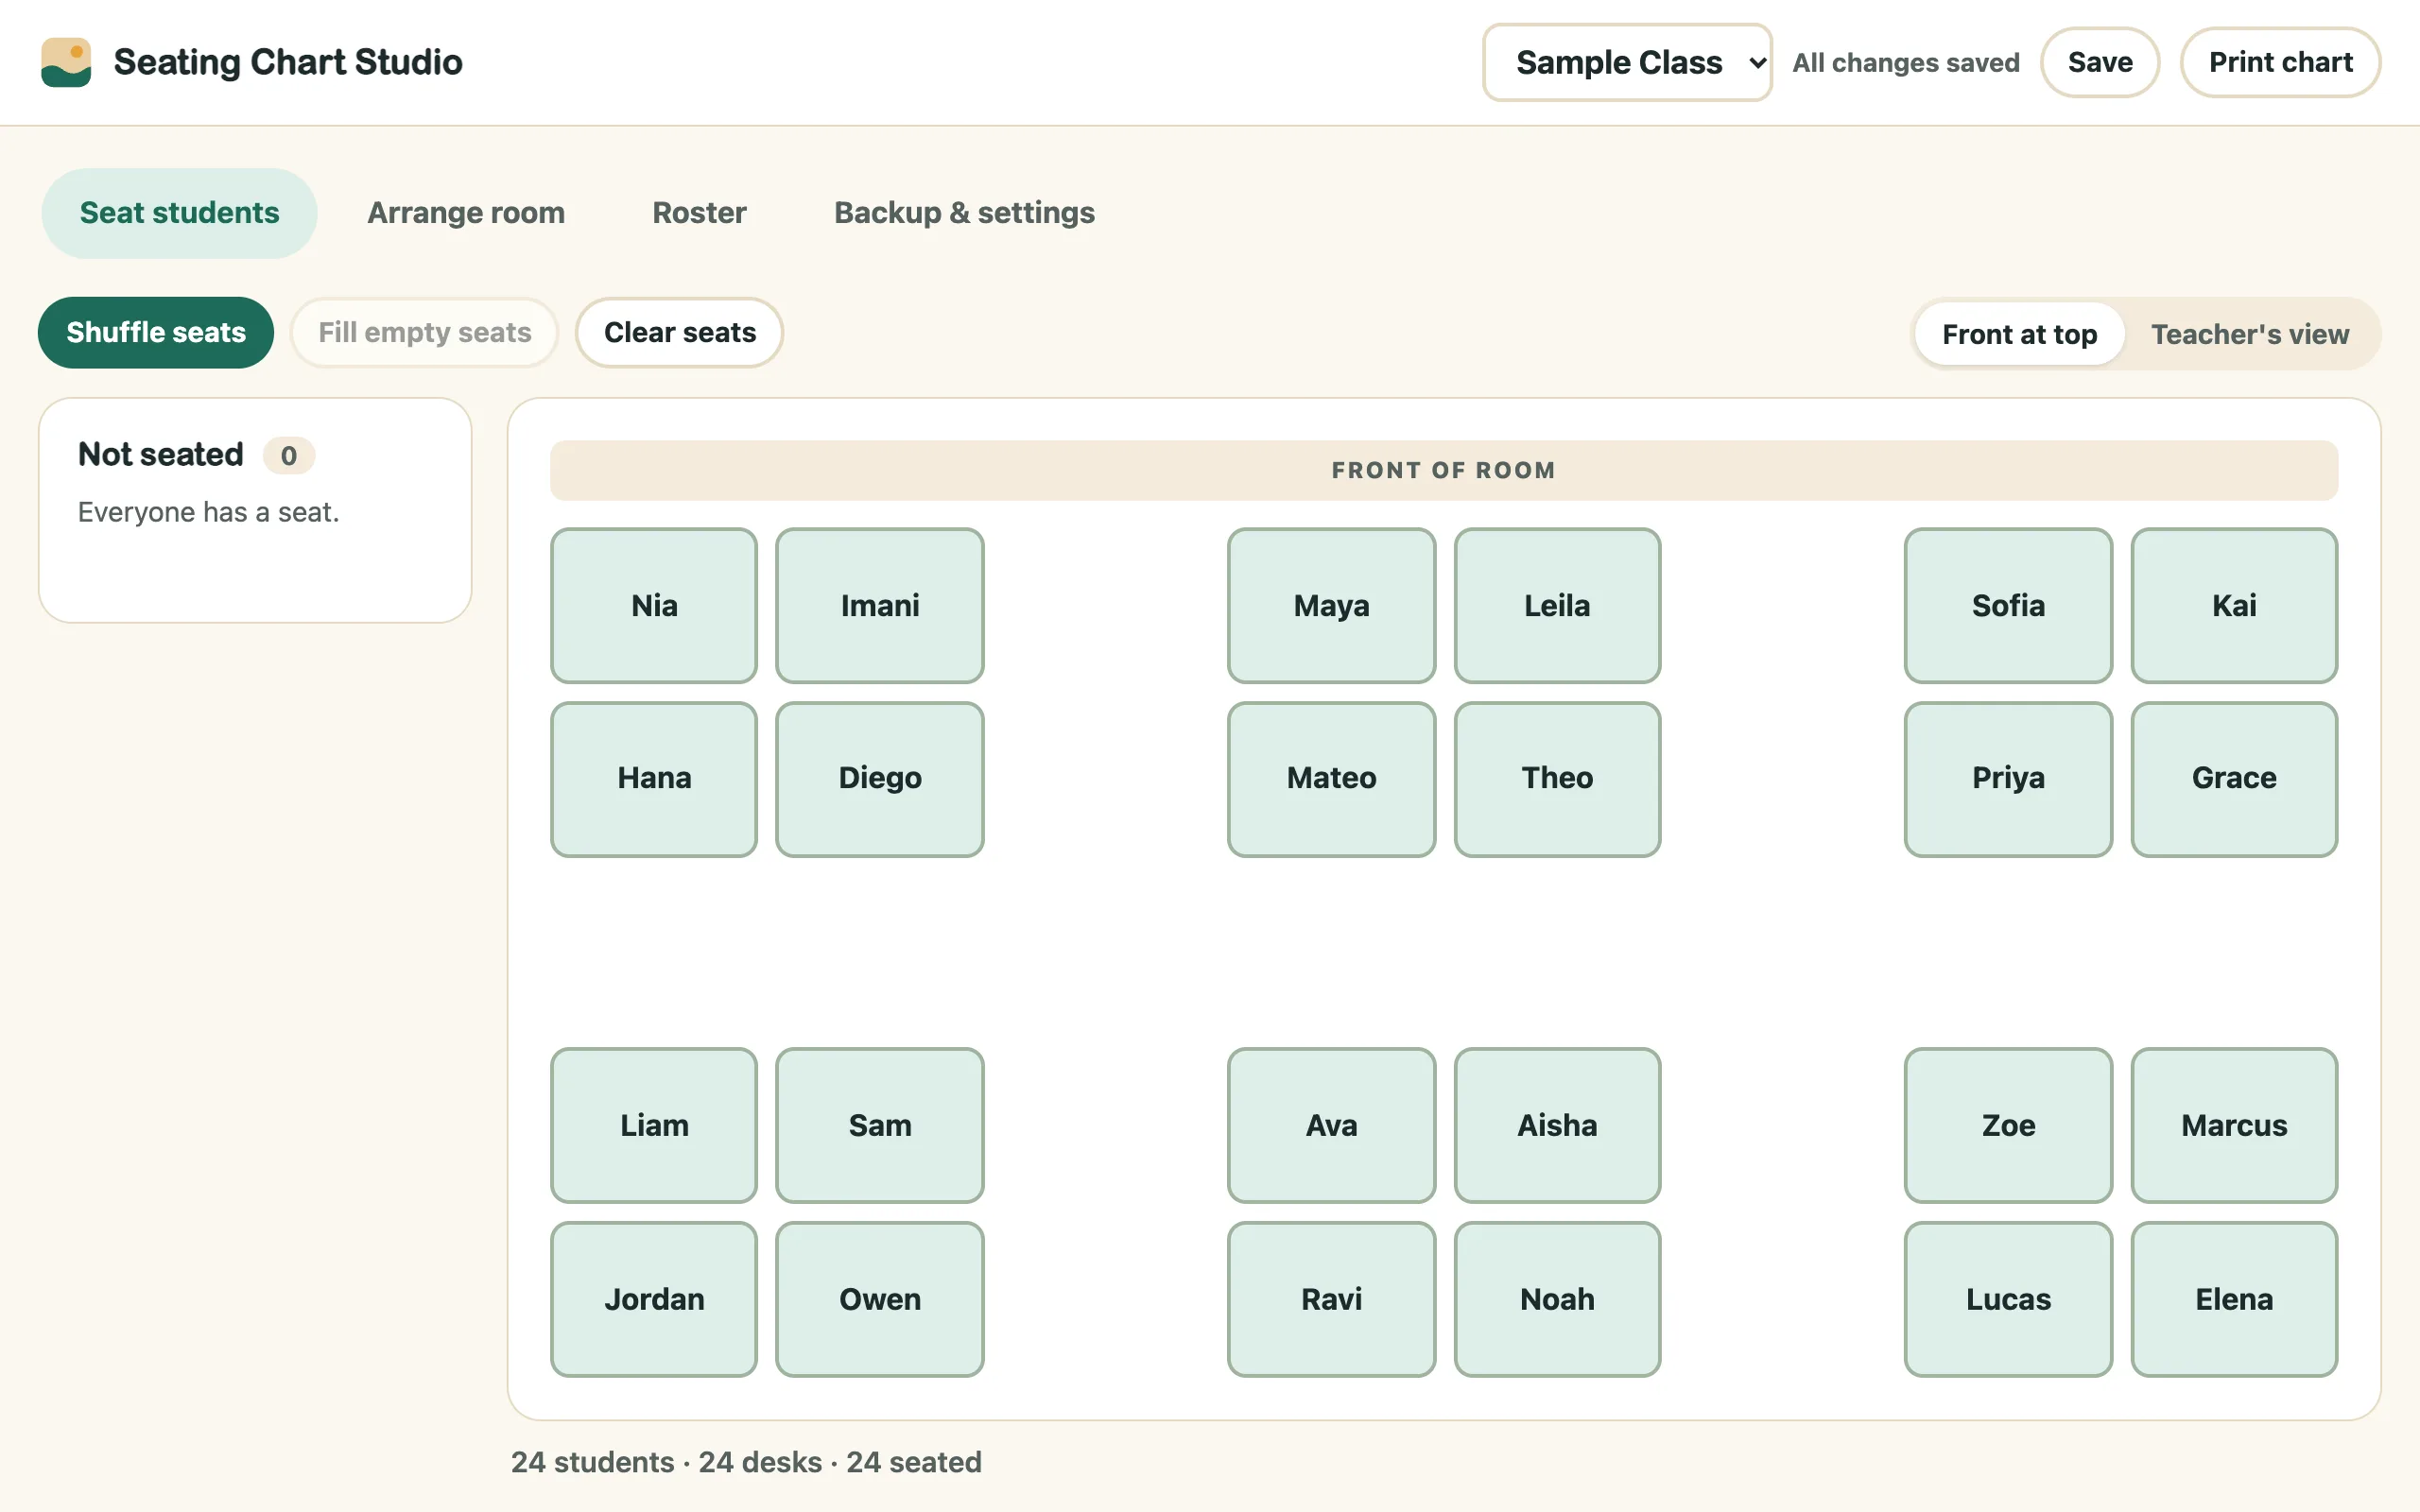
- Drag, drop, swapDrag a name onto a desk, or click a name and then a desk. Dropping on someone's desk swaps the two.
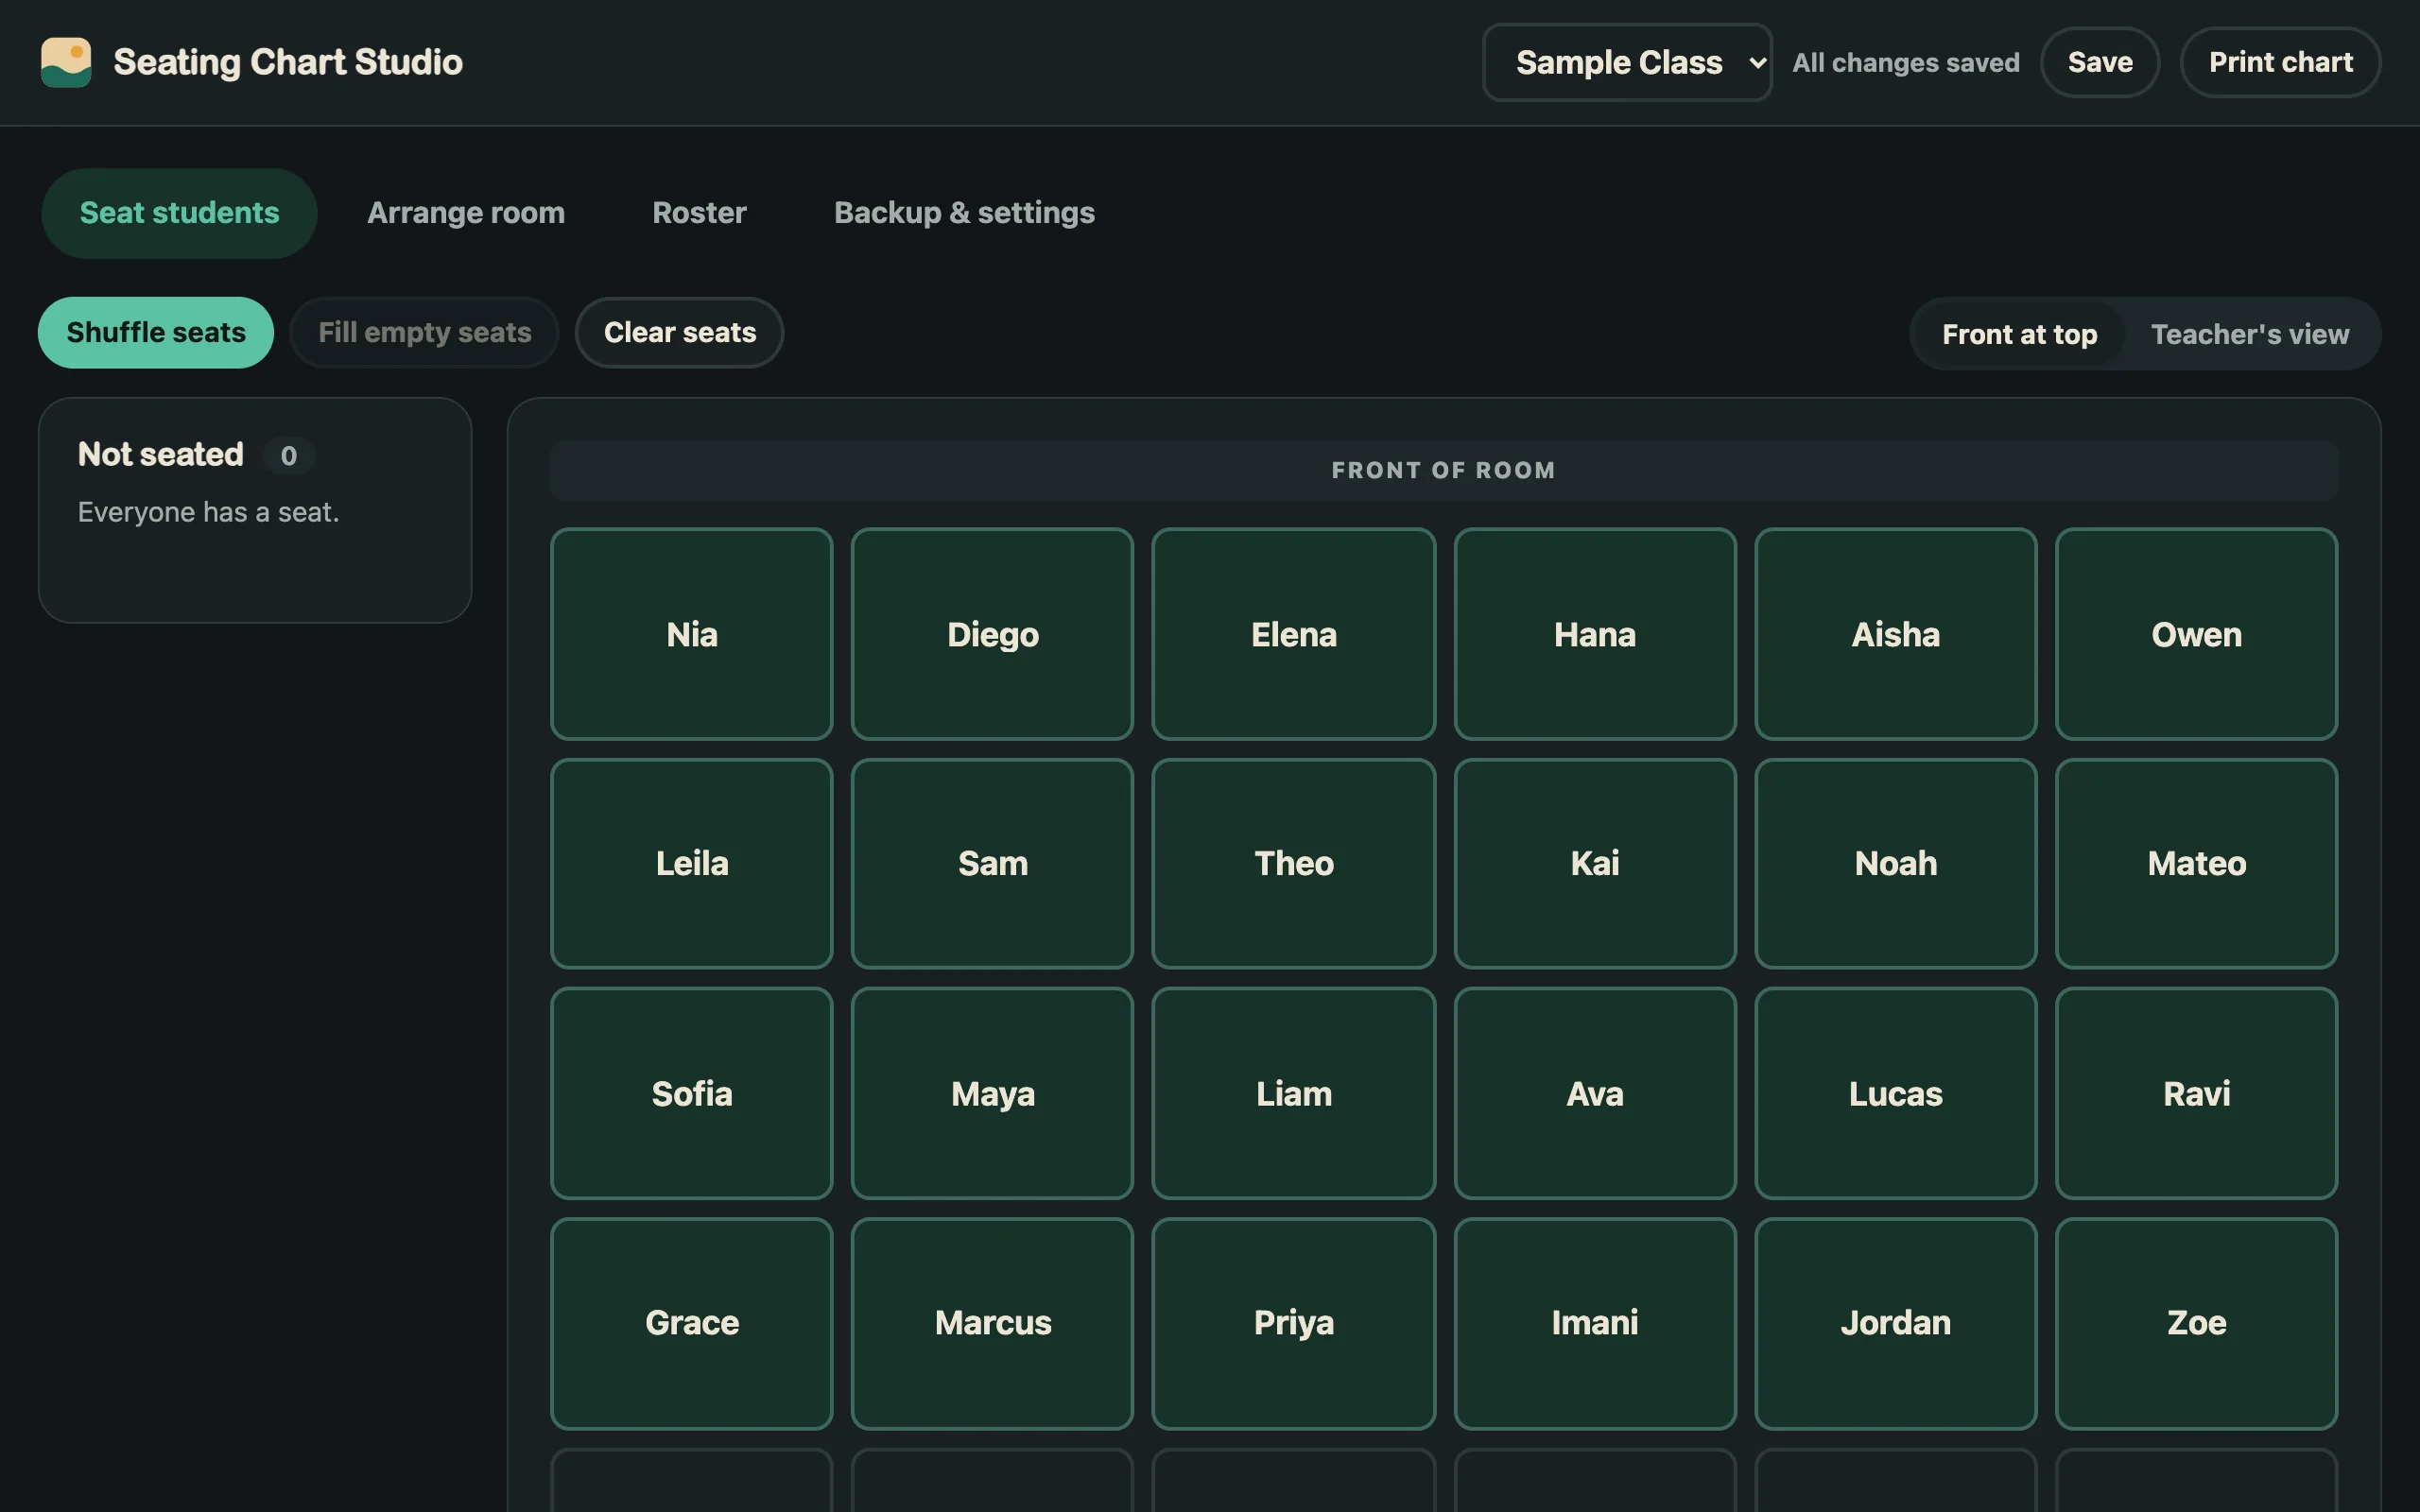
- Shuffle and fillShuffle seats makes a fresh random chart. Fill empty seats places only new students.
- Lock a seatLock a desk to keep a student in place when you shuffle. It's handy for preferential seating.
- One room, many periodsEvery period in the same room shares the desks. Teach in more than one room? Add another.
- Sub-ready printingOne landscape page with big, readable names, either the way students see the room or turned around for the teacher at the front.
A closer look
Real screenshots of the app with sample names. Click any picture to see it full size.
How to run it
Setup takes a few minutes. Every kit comes with a 2-page Quick Start guide with these steps. Prefer to watch? The video at the top of this page shows them.
- Open the appMac or PC: unzip the download, then double-click
index.html. It opens in your web browser. Chromebook: open the zip in the Files app, dragindex.htmlinto My files, then double-click it. Bookmark it (Ctrl+D, or ⌘+D on a Mac) so it's one click away tomorrow. - Add your classType a class name, paste your students one per line, pick a starting layout and click Create class. Have a class list from Build Your Class? Roster → Import class list brings every class across at once.
- Arrange your roomOn Arrange room, start from a layout. Click an empty square to add a desk, drag a desk to move it, and use × to remove one.
- Seat your studentsOn Seat students, drag names onto desks or click Shuffle seats. Click a desk's lock to keep that student in place. Made a mistake? Click Undo.
- Print a chart for your subClick Print chart. Choose Teacher's view to match what you see from the front of the room, and Save as PDF to keep a copy in your sub folder.
No mouse? Tab to a name, press Enter, then Tab to a desk and press Enter. Esc cancels.
Where your data lives
Everything you enter stays in this browser, on this computer. We never receive student data. The app carries a built-in browser rule that blocks it from connecting to the internet at all, and it works with Wi-Fi off.
If something looks wrong
My data is gone.
Make sure you're on the same computer, browser and copy of index.html as before. If the browser data was cleared, use Import backup with your latest backup file.
The chart prints on two pages, or sideways.
In the print window, set Layout to Landscape and Scale to Default.
A yellow banner says the app can't save.
A browser setting is blocking site data. Change it or ask IT, and export a backup before you close the tab. Avoid private or incognito windows, which erase everything when they close.
More Sandbox Kits
Get every kit with the Master Key.
$99 once for every tool in the shop and every one we build after it.